Moss can take over a lawn quickly, leaving it looking tired and unhealthy. If your lawn is smothered in moss, it may seem beyond saving, but with the right steps and tools, you can restore its health. Lawn care expert Robbie from the YouTube channel Premier Lawns walks viewers through a comprehensive process for reviving a moss-covered lawn, offering practical tips that will help bring your lawn back to life.
Step 1: Mow the Lawn to a Manageable Height
The first step in revitalizing a moss-covered lawn is to mow it down to a more manageable height. Robbie admits that he often tells his viewers to follow the “one-third rule,” which states you should never cut more than one-third of the grass blade at once. However, in this case, the grass may be so long and thick that breaking this rule is necessary to make progress. Mowing the lawn will help prepare it for the next steps and make the tools more effective.
Step 2: Aerate the Lawn for Healthier Grass

Next, Robbie emphasizes the importance of aeration. Aeration involves removing small plugs of soil, which helps reduce compaction, improve water drainage, and promote root growth. This process is critical for creating a healthy lawn. Robbie notes that he often receives feedback suggesting he aerates before scarifying, but he stands by his approach. Aerating first allows for better results by ensuring the tools can reach deeper into the soil and break up thatch more effectively.
To explain further, Robbie shows viewers a core sample of the lawn, demonstrating the layer of thatch beneath the grass. Thatch is a mixture of organic matter such as dead grass, roots, and stems that can build up and prevent water and nutrients from reaching the soil. Aeration helps reduce this layer of thatch, setting the stage for scarifying.
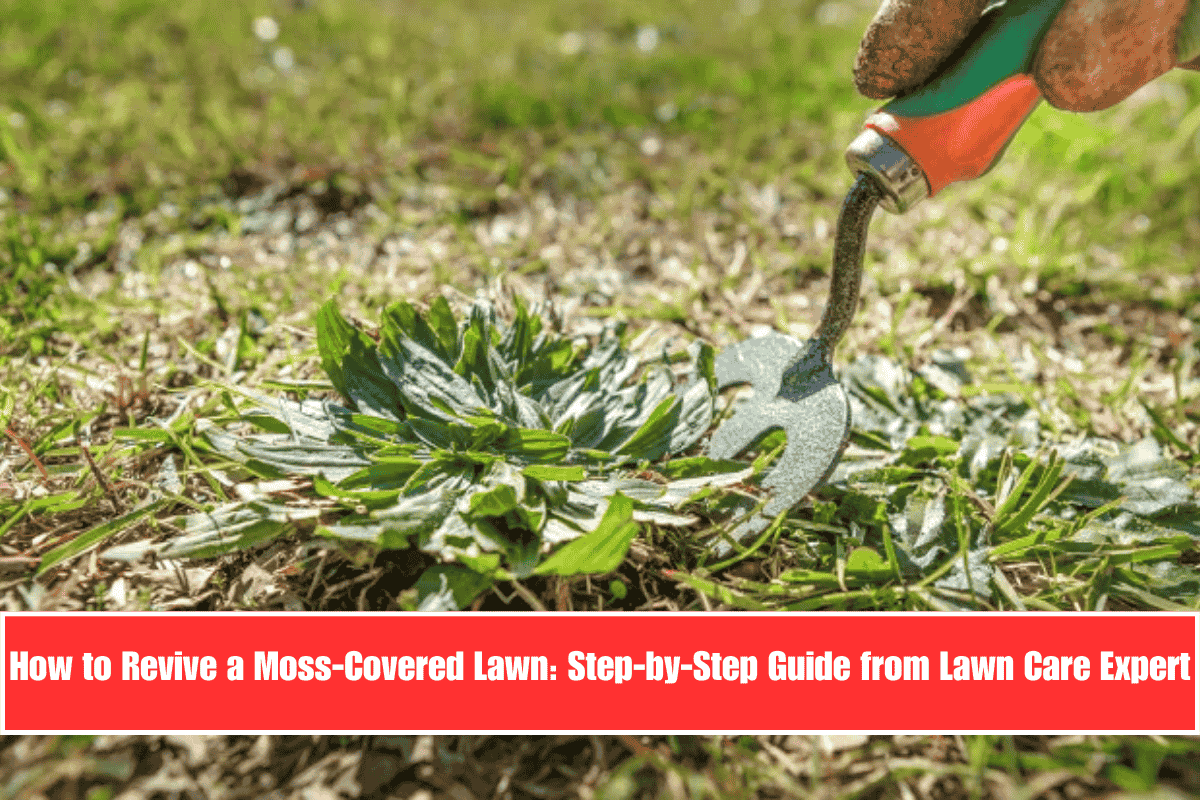
Step 3: Scarify the Lawn to Remove Moss and Thatch
Once aeration is complete, it’s time for scarification, a process that uses vertical blades to remove moss, thatch, and dead grass. Robbie highlights that while professional scarifying machines are available for rent, homeowners can also use a spring rake for the job, though it will require more effort. The key to successful scarifying is ensuring the grass is short enough so the tools can reach and remove the material effectively. This is another reason why Robbie broke the one-third rule earlier on.

The best time to scarify is during the spring or autumn when the grass is actively growing. This allows the lawn to recover more quickly after the scarifying process. According to Robbie, scarifying before aerating isn’t effective because you won’t be able to see the results of scarifying without aerating first.
Step 4: Fertilize the Lawn for Stronger Growth
After scarifying, it’s crucial to fertilize the lawn. Robbie explains that fertilizer encourages new root growth and helps the grass recover. It gives the lawn the nutrients it needs to grow stronger and healthier. Fertilizing is a key step in ensuring that your lawn bounces back after the aeration and scarification process.
Step 5: Water the Lawn Thoroughly
The final step in the process is watering. Robbie recommends watering the lawn thoroughly after fertilization. This helps the grass recover and also dehydrates any remaining moss, preventing it from regrowing. Proper watering ensures that the lawn gets the hydration it needs to thrive, especially after undergoing aeration, scarifying, and fertilization.
With the Right Tools, Your Lawn Can Recover

Reviving a moss-covered lawn may seem like a daunting task, but with the right tools, timing, and care, it is possible to bring your lawn back to life. Robbie’s process of mowing, aerating, scarifying, fertilizing, and watering ensures that any moss-covered lawn can be saved, transforming it into a lush, green space.
By following Robbie’s expert advice, you can enjoy a beautiful lawn free of moss, with healthier grass and improved drainage.